Add lights to the scene
After entering the Editor screen, now you can navigate the space of the scene by mouse double-click on a ground in the 3D scene displaying in left side panel of the editor. You can also use keyboard shortcut instead.
1. Preview lighting of the scene
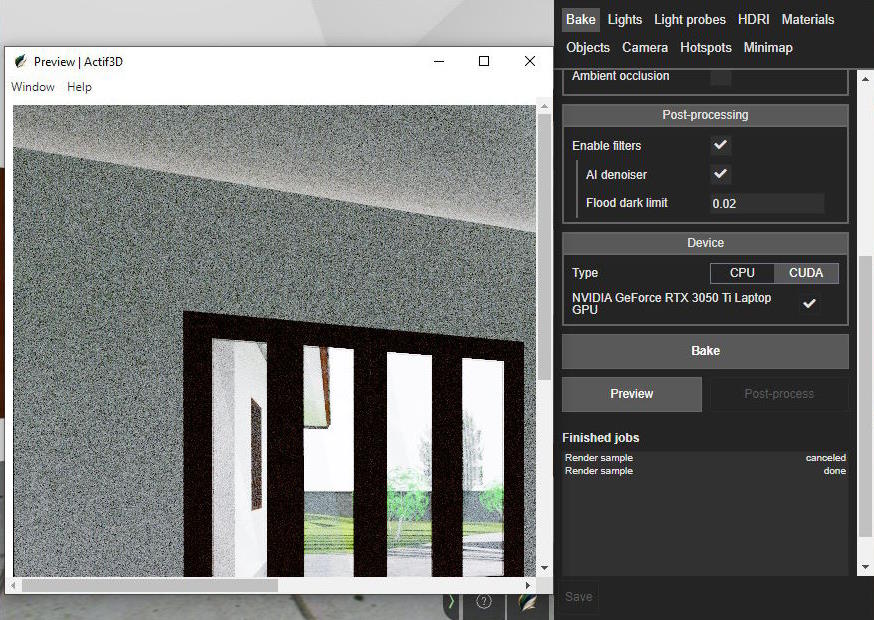
Firstly when you open the editor, you are in the Bake tab of it. Press the Preview button to render a test view. You will see some noise, don't worry, the preview is just for testing the scene. After you have all scene settings done, later you will go back to Bake tab to make the lightmap better.
2. Add a Sun object to the scene
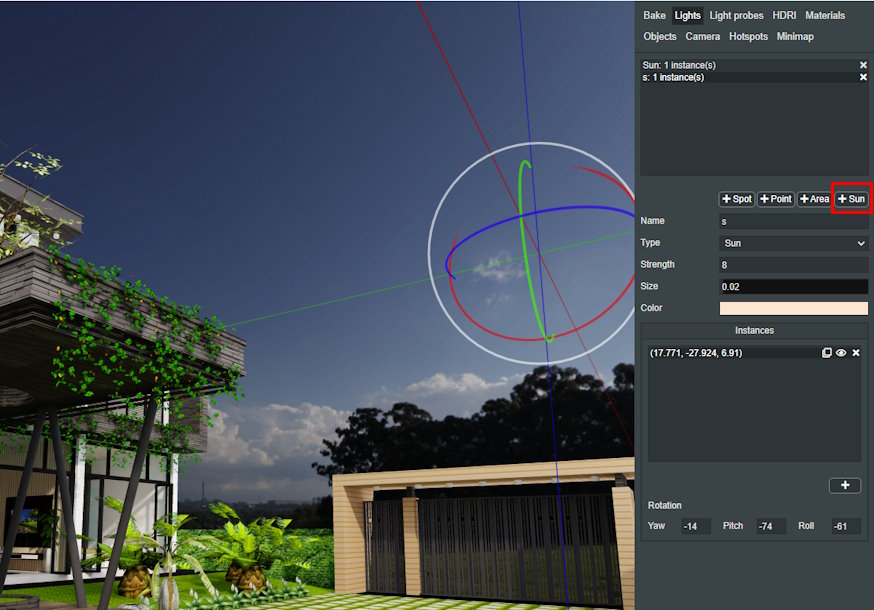
Move the current camera to a high position (hold the E key on keyboard), open the Light tab on left side of the Editor. Click to the +Sun button. Now hold Q key to move camera lower to the ground.
Now adjust the settings of the Sun light, change the value of Strength field and click Preview button to test again, you will see the light changed.
3. Add Light objects to the scene
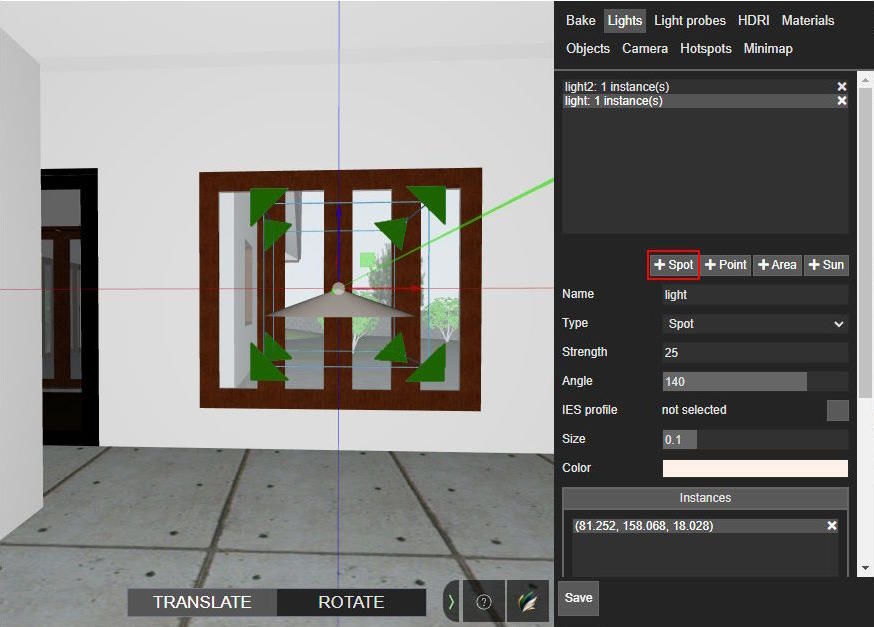
Go to the Lights tab and click +Spot to place spotlights in your model.
 Use the panel on the right to adjust the Strength of the light; use the same panel or the controls in the viewer window to adjust the Position and the Rotation of the lights. After changing, just go to Bake tab and click Preview to test the lights
4. Add a sky HDRI to the scene
Now open the HDRI tab on the editor, click to square button the button at the “HDRI texture” line to chose a HDRI panoramic image.
HDRIs are a panoramic images that used for the boundary view of the scene, including the sky. You can find and download them in some internet sources, such as https://polyhaven.com/hdris
Next lesson: Bake the light map


